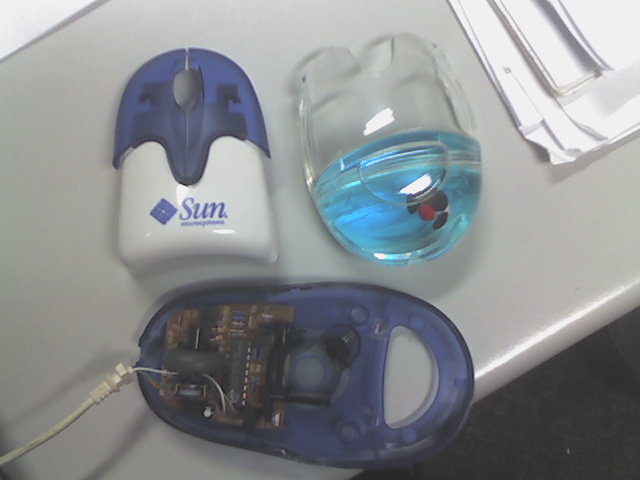
Some of you would be asking why I'm going to the trouble of fixing this mouse. It is in fact a cheap mouse I got as a freebie from Sun Tech Days a few years ago. People seeing this mouse either love it or hate it. I like it because it gets people's attention. Plus, it's got Duke in a small compartment of water/liquid.
Anyway, I documented the whole replacement procedure so I can blog it in pictures. This is something simple and you can probably do it on your own as well if your favourite mouse has the same problem. All the equipment I used were:
- Screwdriver
- Penknife
- Pliers
- Scotch tape
You don't need the scotch tape if you have a soldering iron and know how to solder. ;)
First off, dismantling the mouse! I had to remove some screws and pry the transparent portion containing the drowning Duke. This step will be different for other mice, but should not be difficult. During this step, I found my mouse to be in desperate need of dusting and cleaning. :|

Now to slice off one end of the $1.90 cable and connect that to the mouse. The biggest problem now is to match the wires as they are not following a standard color code. The way I did it was to pry open the USB jacks on the spoilt mouse cable as well as the part of the new cable I sliced off, and then do a pin to pin matching. Basically it's just working out which wires connect to each other. Once that is done, just twist the wires together and use scotch tape to protect the ends. If you plan to solder the wires on, you can just solder the new cable onto the board.


Finally, putting the mouse back together and a test run to see that the mouse works:

I tested it on my desktop as well as laptop. Works like a charm! I didn't even have to buy a soldering iron. :)